|
PLY PLAY TABLE
>
4.296
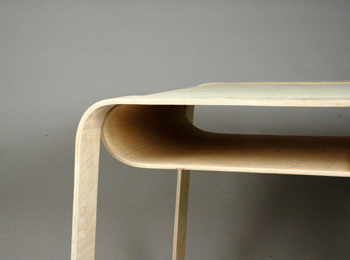
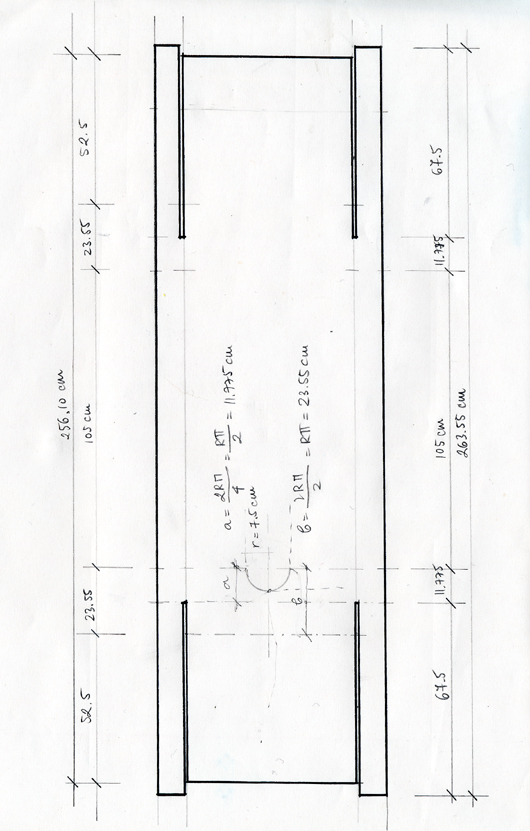
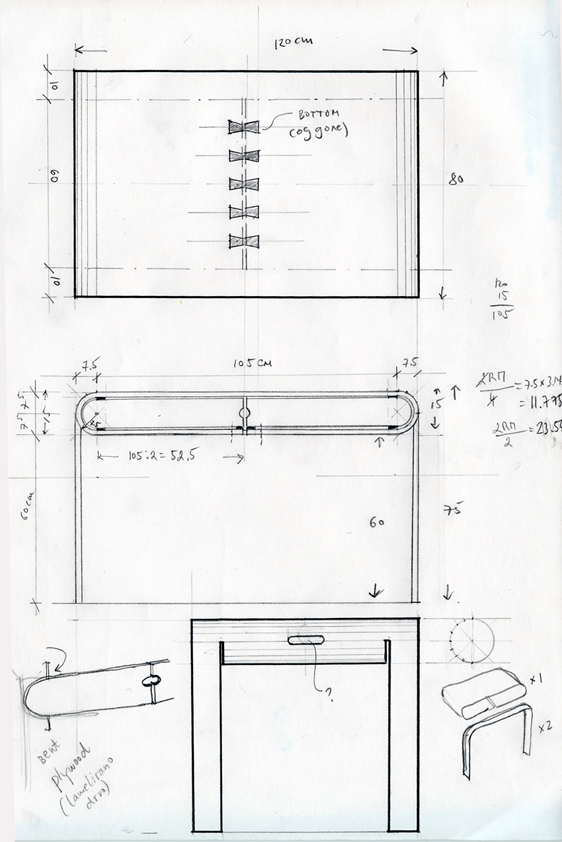
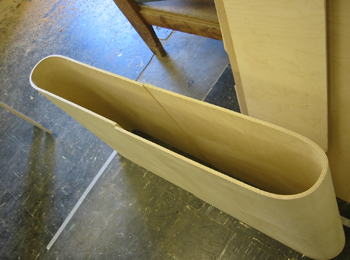
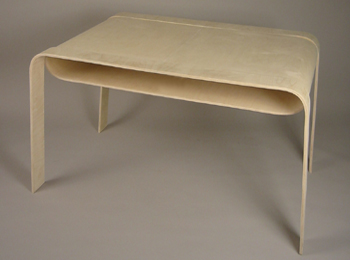
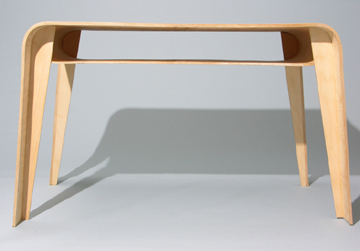
Furniture Design I wanted to make a permanent version of the cardboard tables, an affordable design that will include box of some sort for placing the electronics. The exploration turned into a different project of its own. The idea was to use a single piece of ply, cut it in four places, bend the middle part as a box for the electronics and the side parts as legs (see sketches).
Large (and expensive) 8-foot pieces of ply can be found at marine lumber yards. The N51 woodshop has a vacuum press bag for bending ply, but unfortunately that is too small for bending large pieces and everything at once. Instead, I used an inexpensive Baltic birch plywood that comes in sheets of 150x150 cm (6' x 6') for $10. This meant that instead of bending a single piece of plywood the table had to be to assembled from six bent pieces.
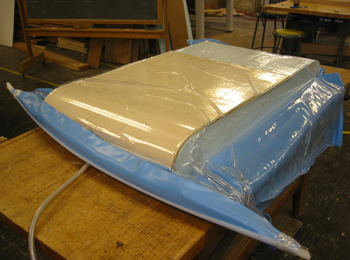
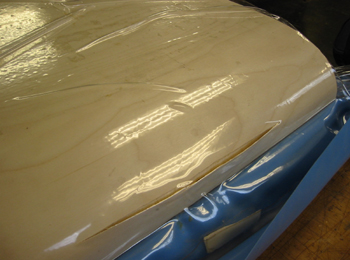
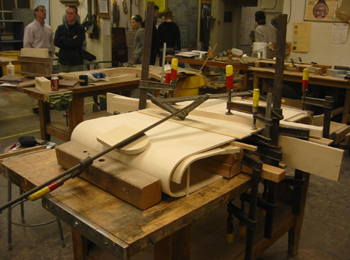
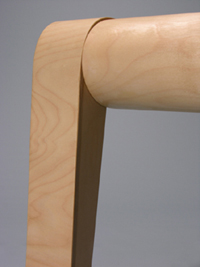
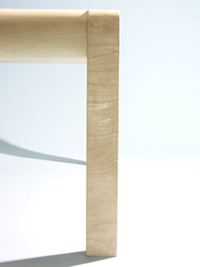
The moulds for bending 3 layers of 1/8" ply were made from 2" foam boards, cut and glued. I used regular wood glue for the first two tests; this glue settles in 10-15 minutes. By the time Chris and I figured out the 'vacuum press choreography' (do not try bending large sheets on your own! my first test was disaster) the ply cracked (see photos). Next, I used plastic resin adhesive which has longer settling time. This worked except that lots of glue was oozing out and all of that (ceramic-like, razor-sharp solidified adhesive) had to be scraped. It took a while.
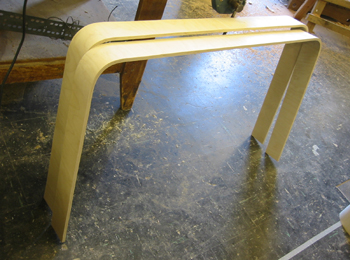
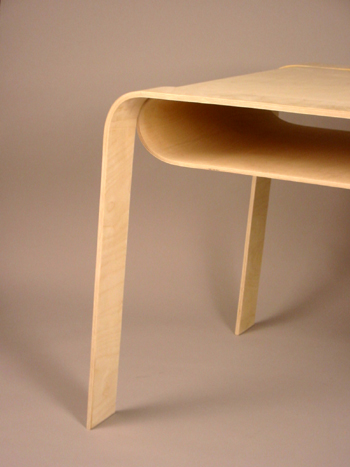
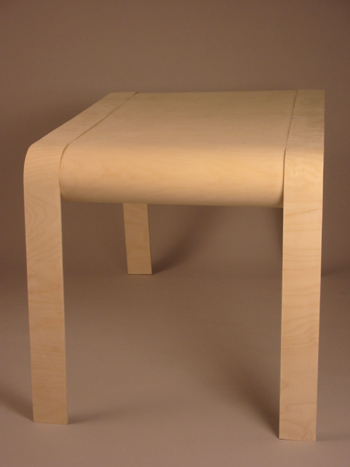
The legs of the table, as they were, did not provide sufficient rigidity. One possibility was to use carbon fiber bandages (CFB) and strengthen the legs by either making new legs and layering carbon fiber inbetween the layers of ply, or adding CFB on the bottom side of the already made legs. Instead (mainly due to insufficient time), 3/8" flat ply pieces were added at the joint between the leg and the box, to prevent axial movement and to stiffen the legs (see below).
PHOTOS by Kate Kunath 2005 |
||||||
|
welcome
|
|
courses
|
|
folio |
|
papers
|
|
exhibits |
|
CV
|
|
PHOTOS by Chris Dewart, Kate Kunath and Lira Nikolovska.